After creating a database project, we’ll want review and edit two Project Properties pages: Project Settings and Debug. These settings will help configure database properties and development environment.
Visual Studio also has the ability to navigate and query SQL Server objects.
Project Properties
In the Solution Explorer, navigate to the SSDTDatabase project, expand the children, and double click Properties. This opens a page in the development window; nine project property categories exist. We’ll focus on two: Project Settings and Debug.
Project Settings
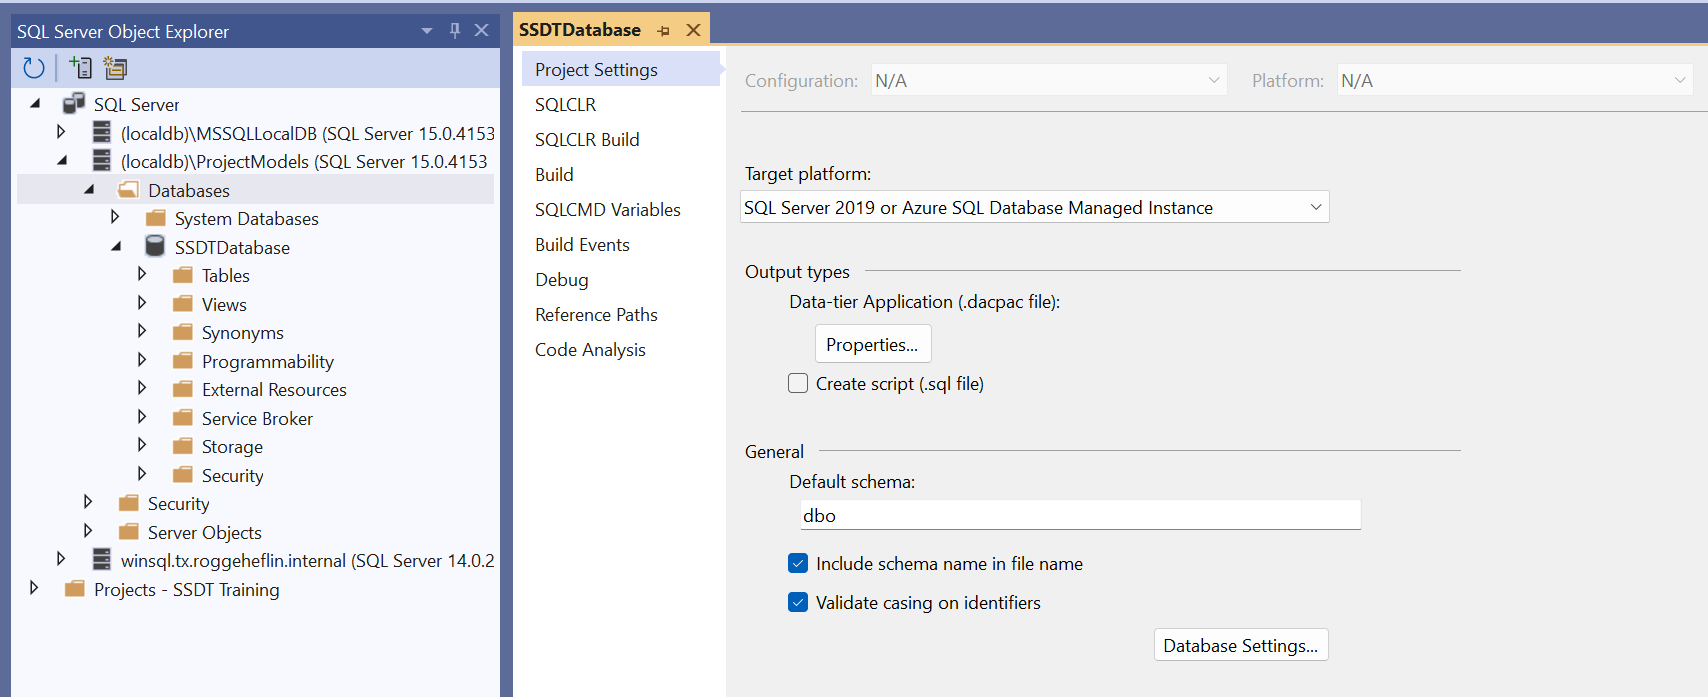
The first tab is Project Settings, here we set the target SQL Server version, new object organization, and advanced database settings.
Target Platform
Visual Studio 2022 (64-bit) with SSDT installs version 15 of Microsoft SQL Server Express Edition (64-bit) instance. Deploying the database to a different instance may require a different selection; this will be validated when we publish the database.
Target Platform: Select SQL Server 2019 or Azure SQL Database Managed Instance.
Additional Microsoft SQL Server version details can be found here:
https://learn.microsoft.com/en-us/troubleshoot/sql/releases/download-and-install-latest-updates
General / Default Schema
The database project can have a default schema; we’ll leave this as dbo for now, but later we’ll see how it can be use for developing many objects in one schema.
Tick: Include schema name in the file name
When importing a database, the object files will include the schema: <schema>.<objectname>.sql
Tick: Validate casing on identifiers
I like to be specific. Lets go ahead and verify all of our database object references have the same case as the object definition.
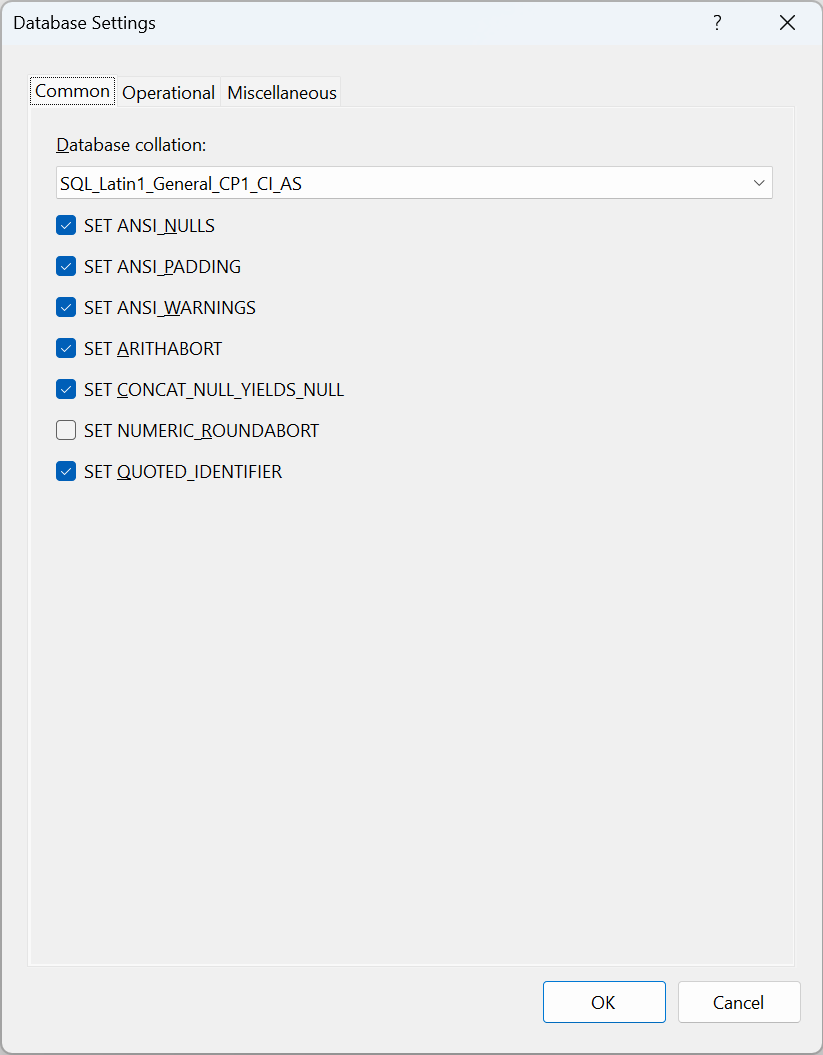
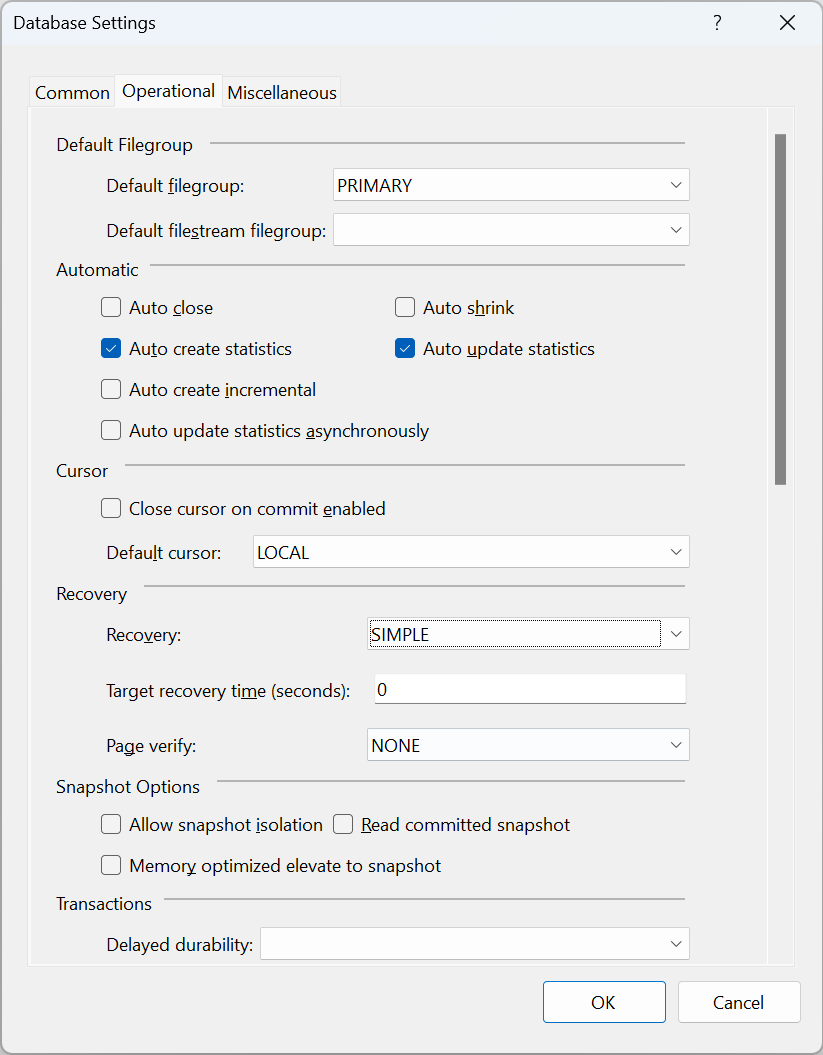
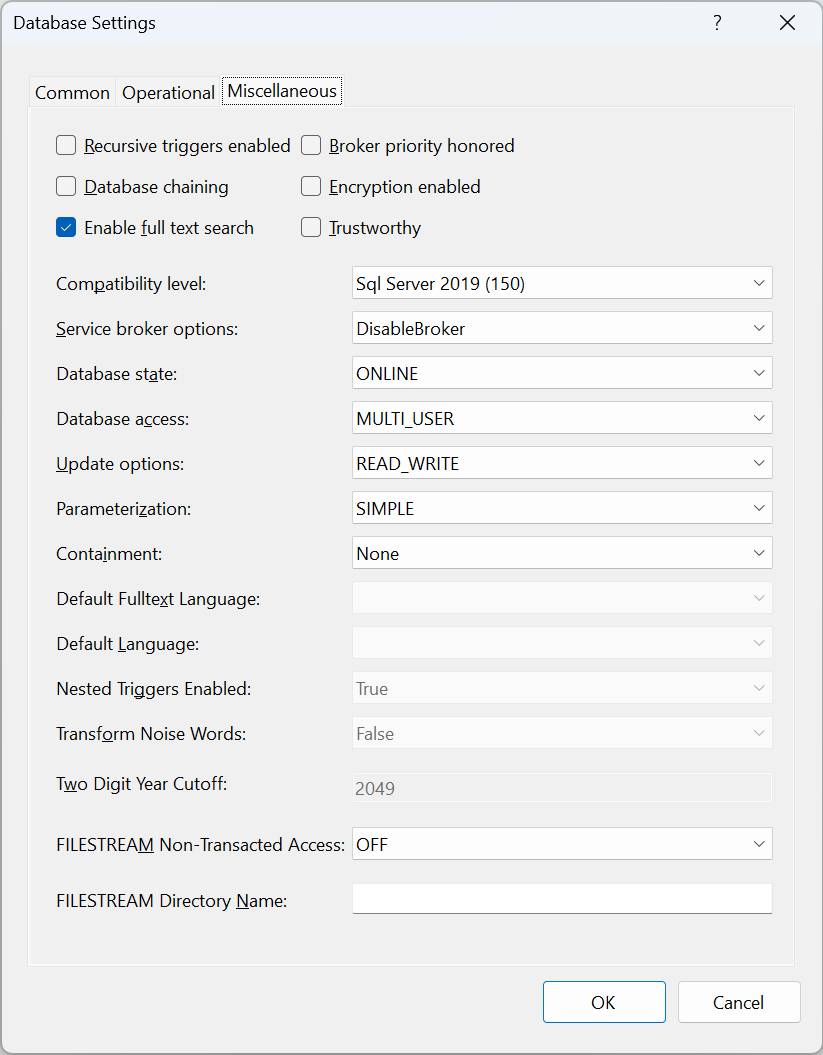
Database Settings
These are advanced database settings organized in three tabs: Common, Operational, and Miscellaneous.
To save log space, change the recovery mode from FULL to SIMPLE: Operational (Tab) > Recovery > Recovery: select SIMPLE
To not blow up the server, change MAXDOP from 0 to 2 (or whatever is comfortable): Operational (Tab) > Database Scoped Configuration (last section) > Max degrees of parallelism: type 2
Save the settings, Click OK
Debug
Debug settings control how the database is published to a debug/sandbox database when clicking Debug > Start Debugging or pressing F5. Pressing F5 deploys the database project to the database identified in the Target Connection String:
- Build scripts are executed
- Pre-deployment scripts are run against the database
- Database Properties (from above) are set
- Database objects are created
- Objects in the target database but not in the project are dropped (optional)
- Target database objects are refactored, including some table rebuilds
- Post-deployment scripts are run against the database
This is REALLY COOL because the SSDT takes care of deployment complexities all while doing it atomically – if an error occurs, changes are rolled back. We’ll see and learn more as database objects are added and when the database is published (rather than debugged).
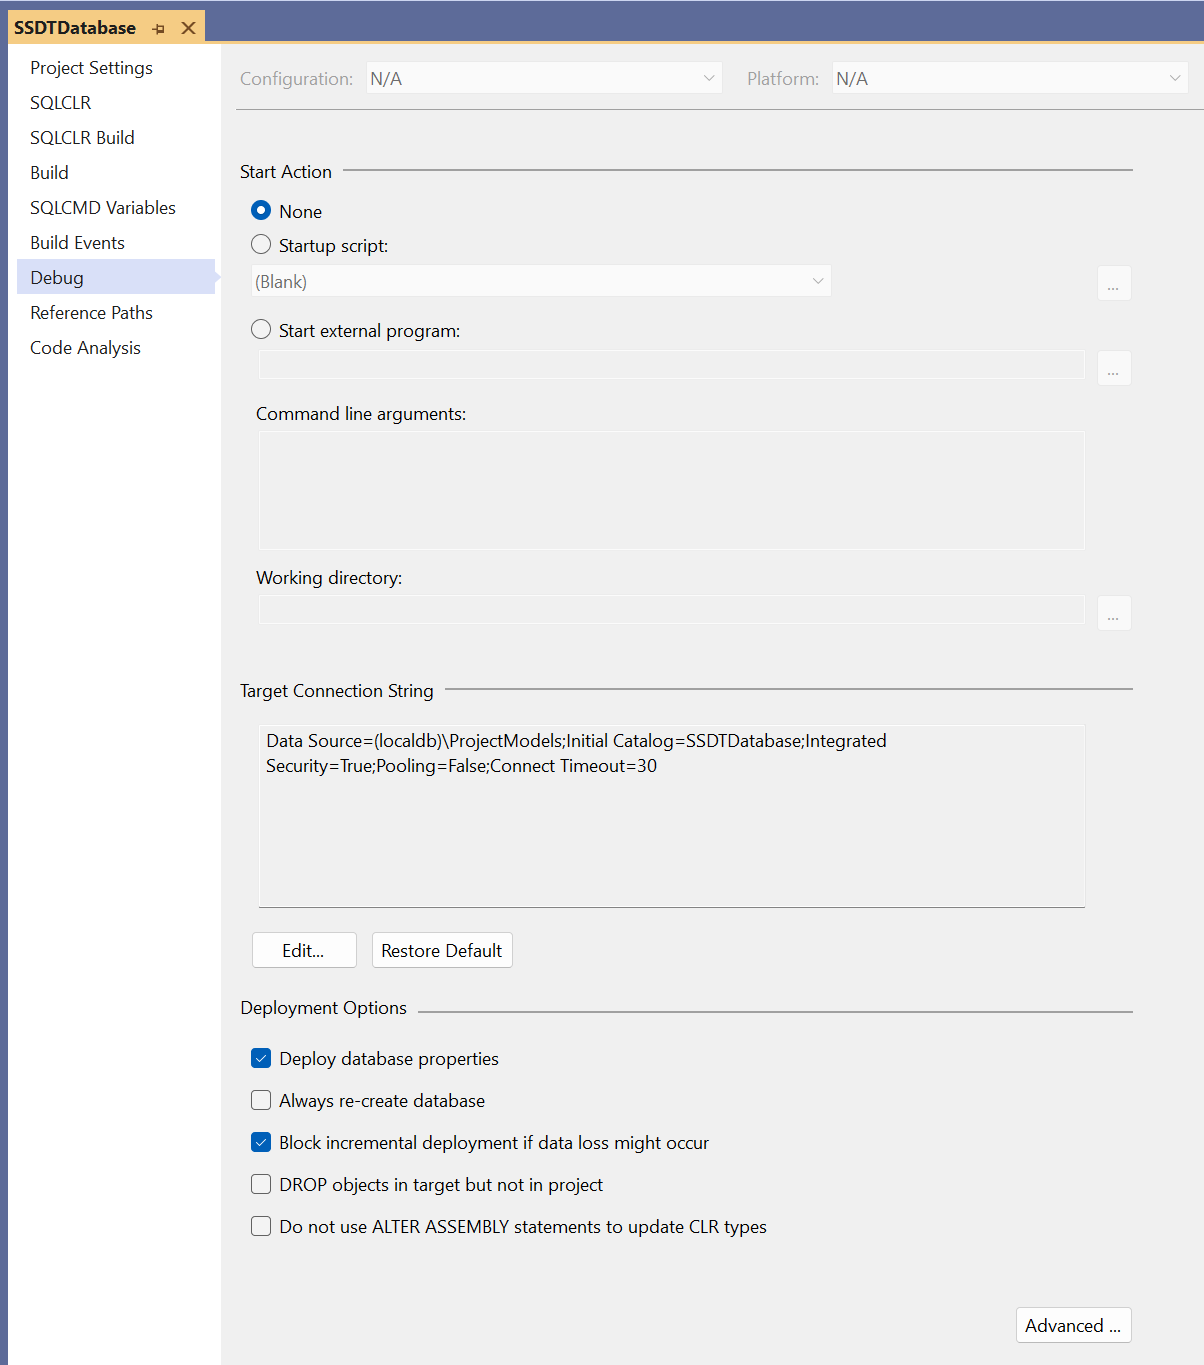
Target Connection String
The default connection string uses a local Microsoft SQL Server Express Edition instance and project name as the database name.
Any SQL Server database connection will work as long as the user has permissions required to execute Data Definition Language (DDL) scripts.
Since this a SQL Server and Database, just about any query tool can query the database including SQL Server Management Studio, Azure Data Studio, and Visual Studio Code.
Deployment Options
Changes how the project is deployed to the target database when pressing F5:
- Deploy database properties – Apply the database settings to the debug database
- Always re-create the database – DROP the database, then CREATE the database
- Block incremental deployment if a data loss might occur – will not alter tables if ANY data loss might occur; this is pessimistic setting stops deployment if converting a column from CHAR(24) to CHAR(16)
- DROP objects in target but not in project – keeps the target database free of objects removed form the project; this is useful when refactoring.
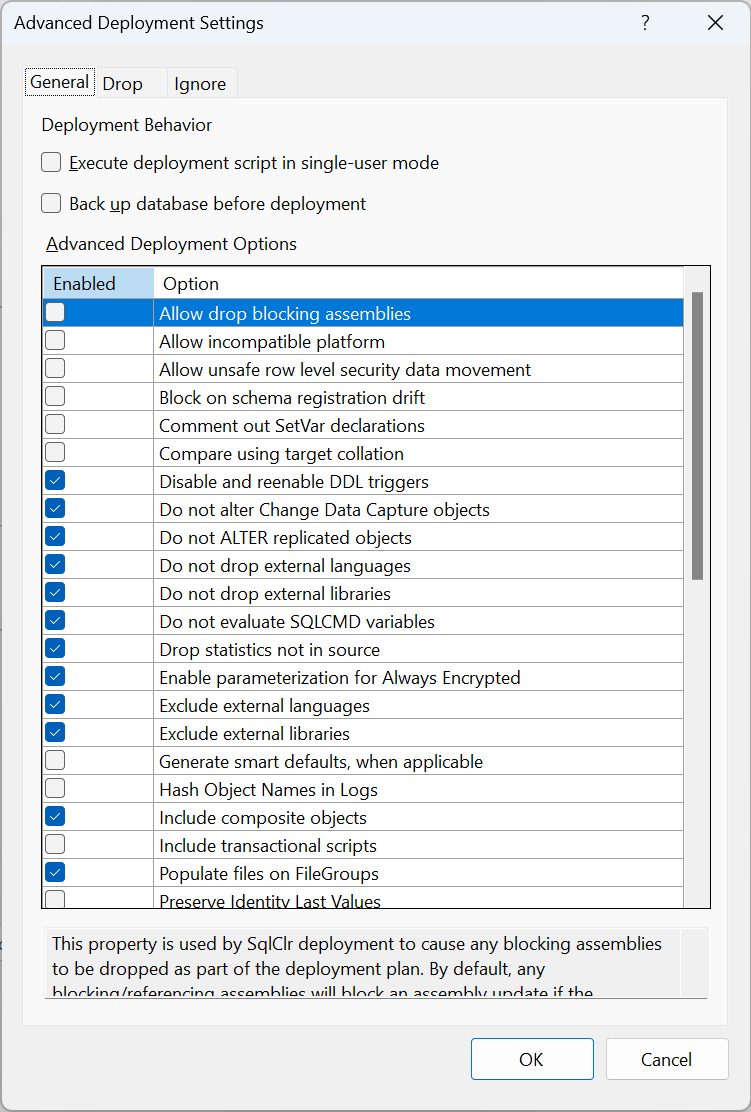
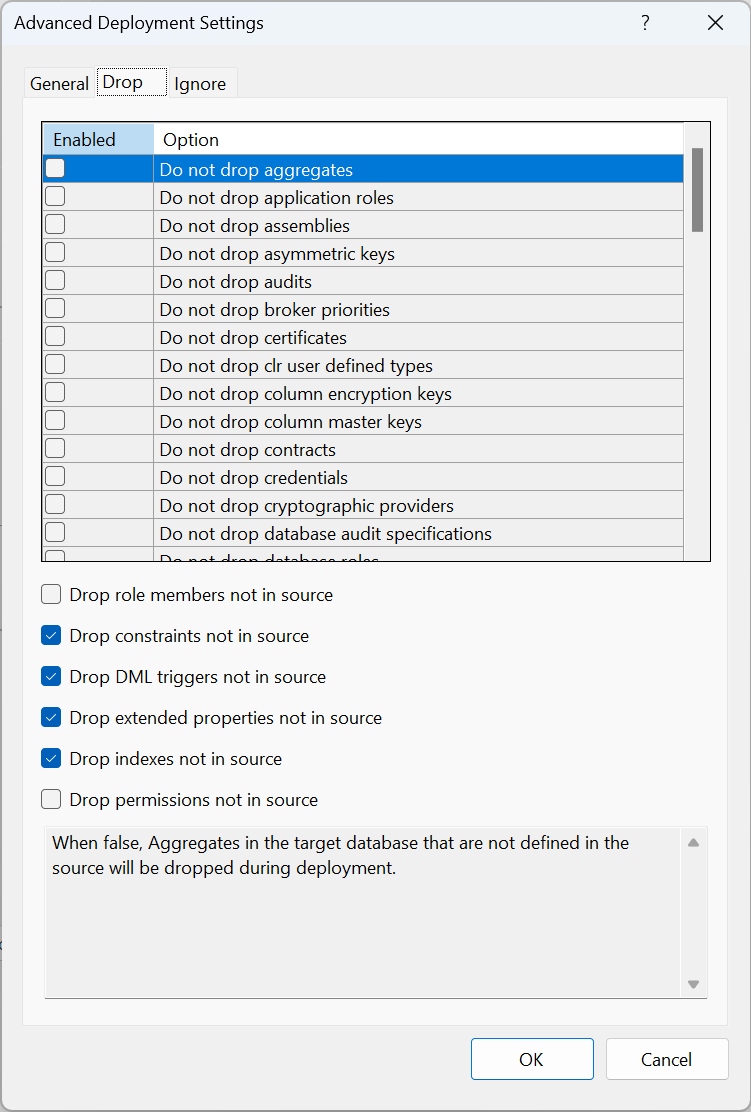
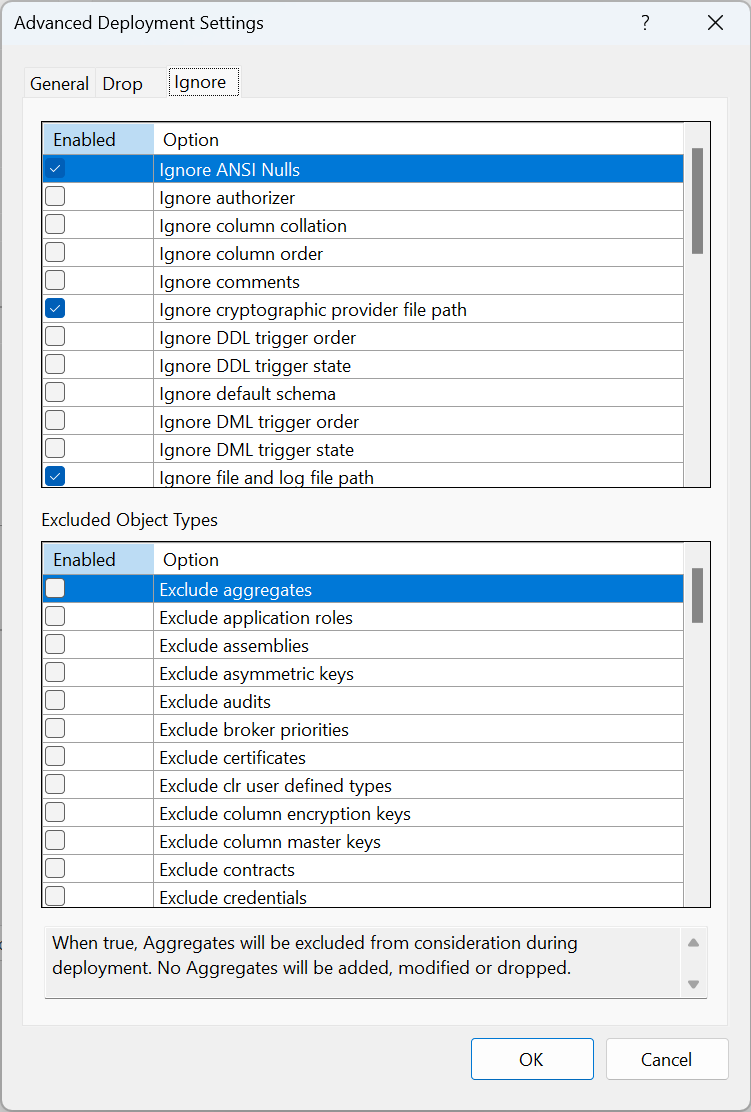
Advanced…
The advanced options fine-tunes how the project database is deployed to the debug database. We’ll use the default settings.
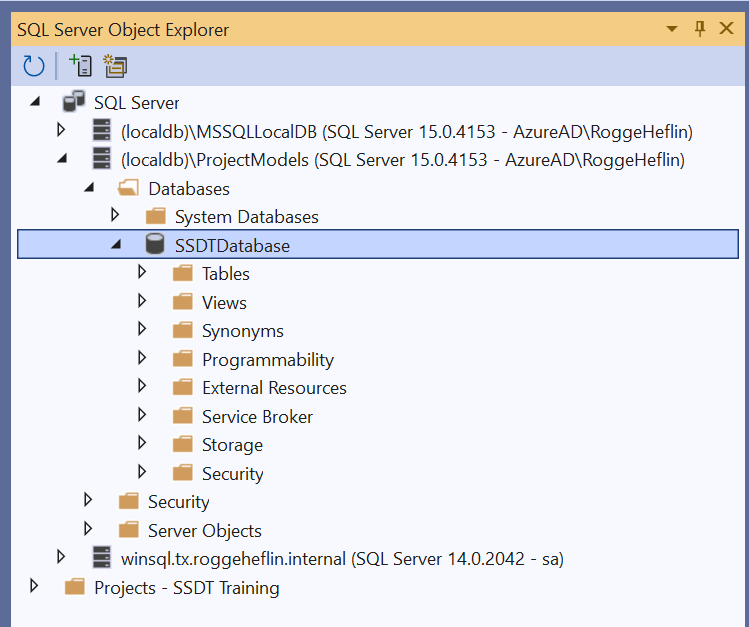
SQL Server Navigation
During SSDT installation, Microsoft SQL Server Express Edition is installed in the instance (localdb)\ProjectModels. The database we created, SSDTDatabase, is automatically added to this instance.
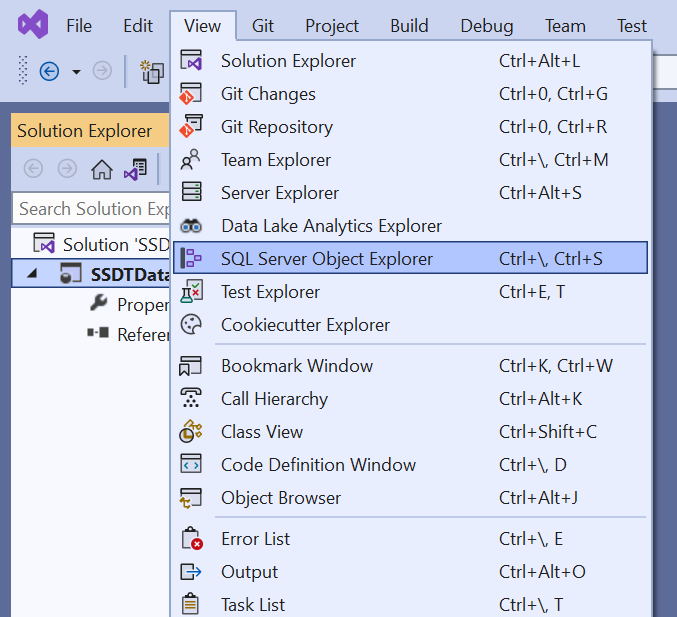
Show SQL Server Objects: View > SQL Server Object Explorer
Expanding the SQL Server Tree will show your SSDTDatabase project and it can be queried just like in SSMS. In a later post, we’ll explore SSDT’s SQL Server Object Explorer, including execution plans.